
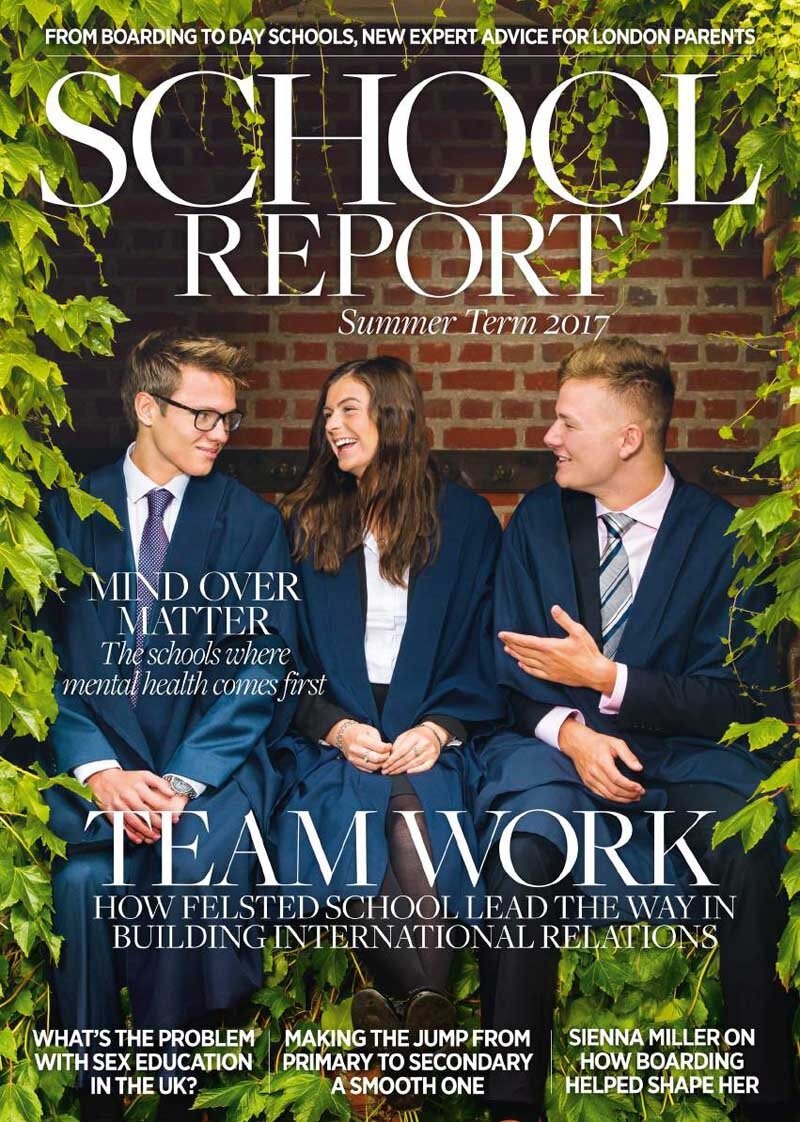
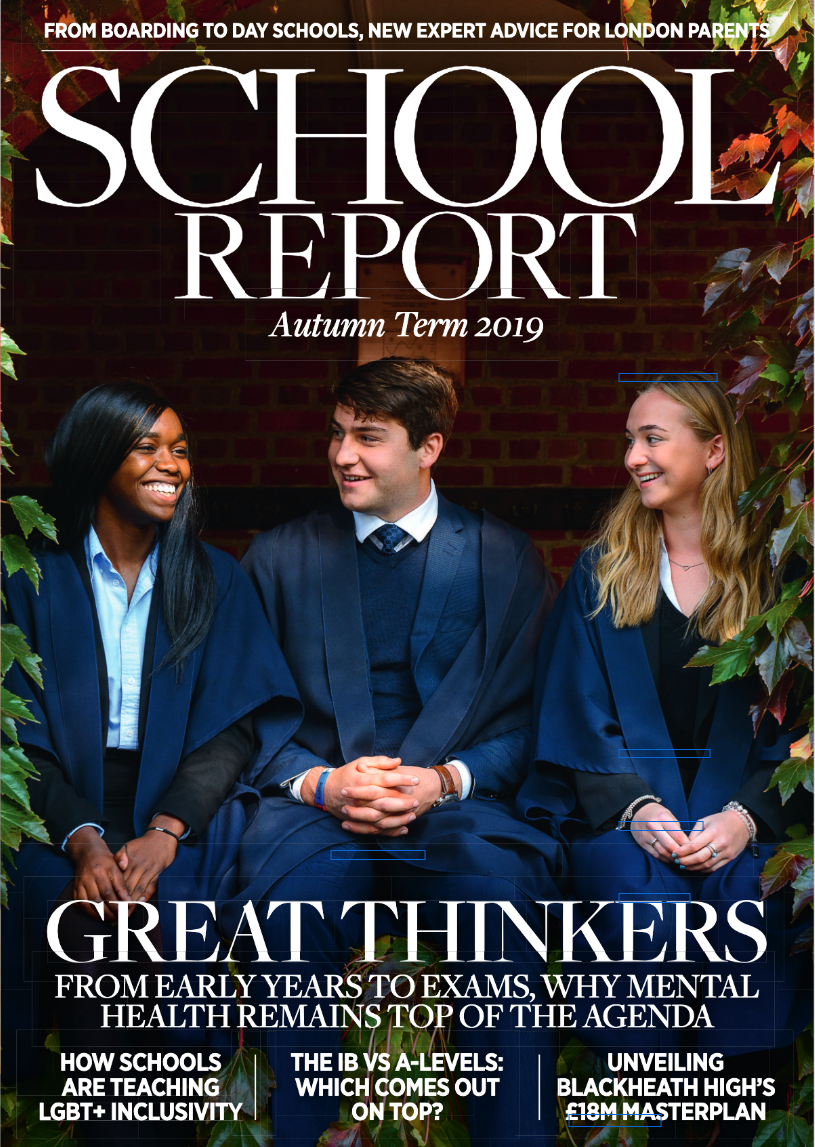
One of the photo requests that I often receive when shooting for schools is for a group photo showing the age range and different ethnic backgrounds of the pupils at that school. It’s a really important photo for every school to have and is on most school websites and in their prospectuses.

If done badly these photos can easily looked clichéd. So here are my top 10 tips for shooting bright, lively, original group photos in a school setting:

1) Location, Location, Location: It is very worthwhile scouting out a good location in advance. You need to consider the background and the available natural light. It is worth choosing a location where pupils can sit, stand and lean – walls, fences and archways work well.

2) Setting the Scene: You need to start the session by getting everyone quiet, introducing yourself and then explaining how the shoot is going to work. Although you might be speaking to the pupils, this information is equally important for the teachers so that they know what is happening and can help out. You need to be loud, clear and authoritative so that the pupils know you are in charge!
3) More is Less: Ask the school to bring along a group of around 15 pupils. The school will research who they want in the photo before the shoot. 15 is really too many for one photo but having them all there will give you a lot of variety for the smaller groups. The maximum number I think that works for a group photo is eight.

4) Mix it Up: Start with small groups of 4 or 5. And then keep changing the group - add more in, take some out, swop pupils in and out, always keeping in mind that you need to include a number of photos with a mix ethnic backgrounds included. You’ll have to take a few photos with each pupil so that no one feels left out but make sure you concentrate on those who are best in front of the camera. If you find a combination is working really well then stick with it for a while. Some groups just have great chemistry.

5) Large Groups: You might be asked to take a photo with a larger group – i.e. all 15 pupils. This will take some planning and thought. I have shot large groups sitting, spread out around steps and also running towards the camera. It’s a tricky proposition but possible if you find the right location.

6) Composition. Think carefully about the composition of the group. Ideally you want everyone’s heads to be at a pretty similar level. It’s obviously good to mix up the ages so you don’t have all the big pupils on one side and all the small pupils on the other.

7) Crazy Faces: I can guarantee that in a group of 15 at least two pupils will make odd faces in front of the camera. They might look perfectly normal away from the camera, but point a camera at them, and they do some curious crazy grin or pull a weird face (I know because my 4-year-old son does this ALL THE TIME!). It might feel harsh but, once you have identified these pupils, leave them out altogether. You have limited time and you can’t afford to waste it. Of course if you have to have these crazy face pupils in the photos then try Point 8…..
8) Eyes off the Camera: You always need to shoot some photos with the pupils looking down the lens, straight at the camera. But often the most effective images are when the group all look away from the camera, to one side. Amongst the group of 15 there will usually be one pupil who is a bit sparky and fun. Use that pupil as your off-camera jester, to stand off to one side of the camera and make funny faces or tell jokes. The group you are shooting will then look at that pupil and smile and laugh. If you don’t have a fun pupil then a teacher might help you out. As a last resort (and assuming your camera is on a tripod) you can use a remote release and stand to one side yourself and make funny faces! Alternatively, you can ask them to look for birds or planes in the sky.

9) Chat to your neighbour: With older pupils (or groups with teachers and pupils) you can ask them to chat to each other. But make sure everyone looks interested in the conversation. If one person is looking like they are not included then the photo won’t work.

10) Under Pressure: These group shoots are always time pressured. Pupils are busy during their school day and often have other commitments to dash off to like lessons, music practice or sport. So it’s vital that you work fast and get some good photos in the bag at that start of the session. If you find that some of the most photogenic pupils cannot stay for the whole session then make sure you shoot them at the start.

I hope that’s helpful. It’s a tricky task taking group photos of school pupils but hopefully these tips will give you some good pointers.